You can delete and/or block cookies by modifying the settings on your browser. Learn more

Step 1:
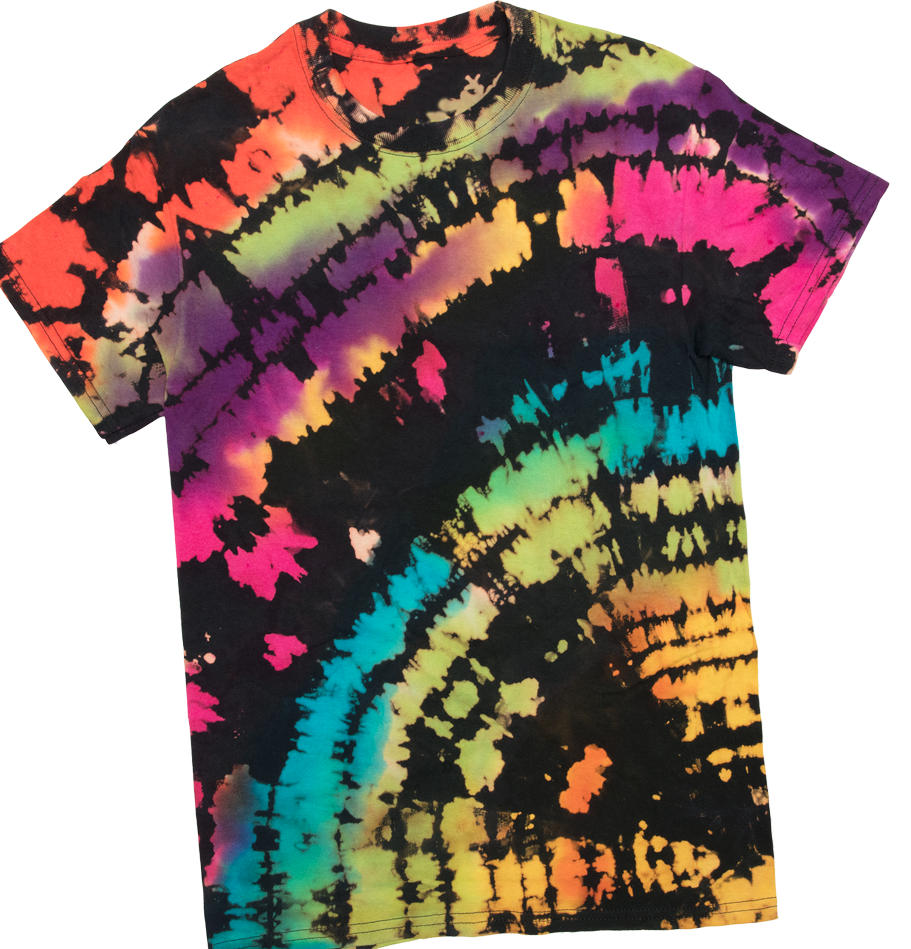
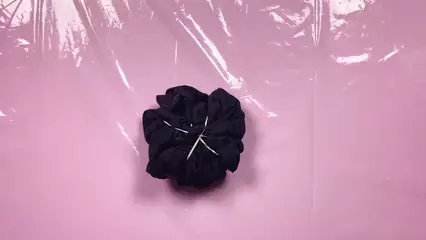
The reverse tie-dye technique is different from other tie-dye techniques! For this one, you’ll want a darker 100% cotton T-shirt you can remove the color from with the included Color Changer. Leave your shirt dry and crumple into a tight mound. Secure your crumpled shirt with rubber bands to hold in place.
Step 2:
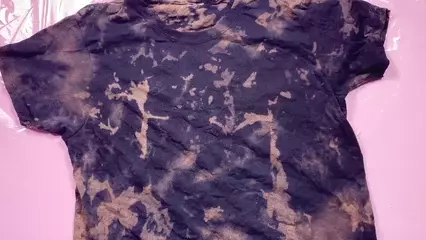
Place your dry crumpled shirt onto a rack if using, then mix up one of the bottles of Color Changer from your Reverse Tie-Dye Kit according to instructions. Wearing the gloves from your kit, apply the Color Changer liquid to all exposed parts of the crumpled shirt, rotating the fabric as needed. Use your gloved hands to help work the Color Changer into the fabric. Allow the Color Changer to set, gradually removing the color from the fabric. Check it regularly and when you are happy with the effects, remove the rubber bands and immediately rinse and wash according to instructions.
Step 3:
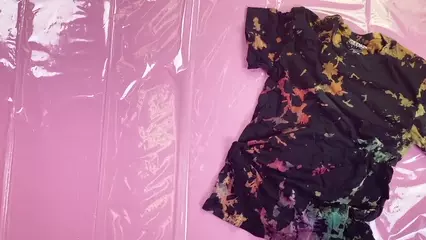
Once your shirt has been washed, leave it damp and lay it flat on your covered work surface. Apply your chosen dye colors randomly over the shirt, especially in the lightened sections so you can really see the dye pop!
Step 4:
Once you’ve added your dyes, carefully gather your shirt and place it into a sealable plastic bag or wrap in plastic wrap to keep it damp while the dye completely processes. This will take 6 to 8 hours or overnight if you want to give it some extra time. After the dye processes, rinse and launder according to instructions.
Pin This Project


