You can delete and/or block cookies by modifying the settings on your browser. Learn more

Step 1
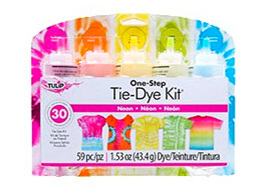
Your Tulip One-Step Tie-Dye Kit always comes with the tie-dye essentials you’ll need to tie dye your project. Each kit includes disposable plastic gloves, rubber bands, instructions, and bottles of dye powder. Depending on the tie-dye technique you choose, you might need a few extra supplies. We always recommend having a wire rack (like a baking rack) if you have one handy when you tie dye your project. This helps keep it above the pooled dye underneath as you add dye, so you don’t accidentally get different dye colors in sections where you don’t want them on your project. You might also need a washable marker if you’re creating a shape like a diamond or heart. Of course you’ll also need something to tie dye, like a T-shirt (or whatever fabric item you wish to tie dye); just make sure your fabric is made of a 100% natural fiber fabric like cotton, rayon or silk for best and brightest results.
Step 2
To mix your dyes, remove the nozzle and add water straight from the faucet up to the fill line on each bottle. Replace the nozzles with the caps still on, and shake each bottle thoroughly until all dye powder dissolves. Wait to mix your dyes until you are ready to apply them. Mixed dyes left sitting for more than 24 hours might lose their concentration and therefore may end up appearing less vibrant when you use them.
There’s no need to presoak your fabric in soda ash before tie dyeing; Tulip dyes come with soda ash in the formula! (Although you can totally soak your fabric in soda ash if you want to. It won’t negatively affect the process when you start tie dyeing.) We do recommend that you prewash your fabric before you tie dye it (without fabric softener – this can block the dyes from properly absorbing into the fabric), especially if your fabric is brand new.

Step 3
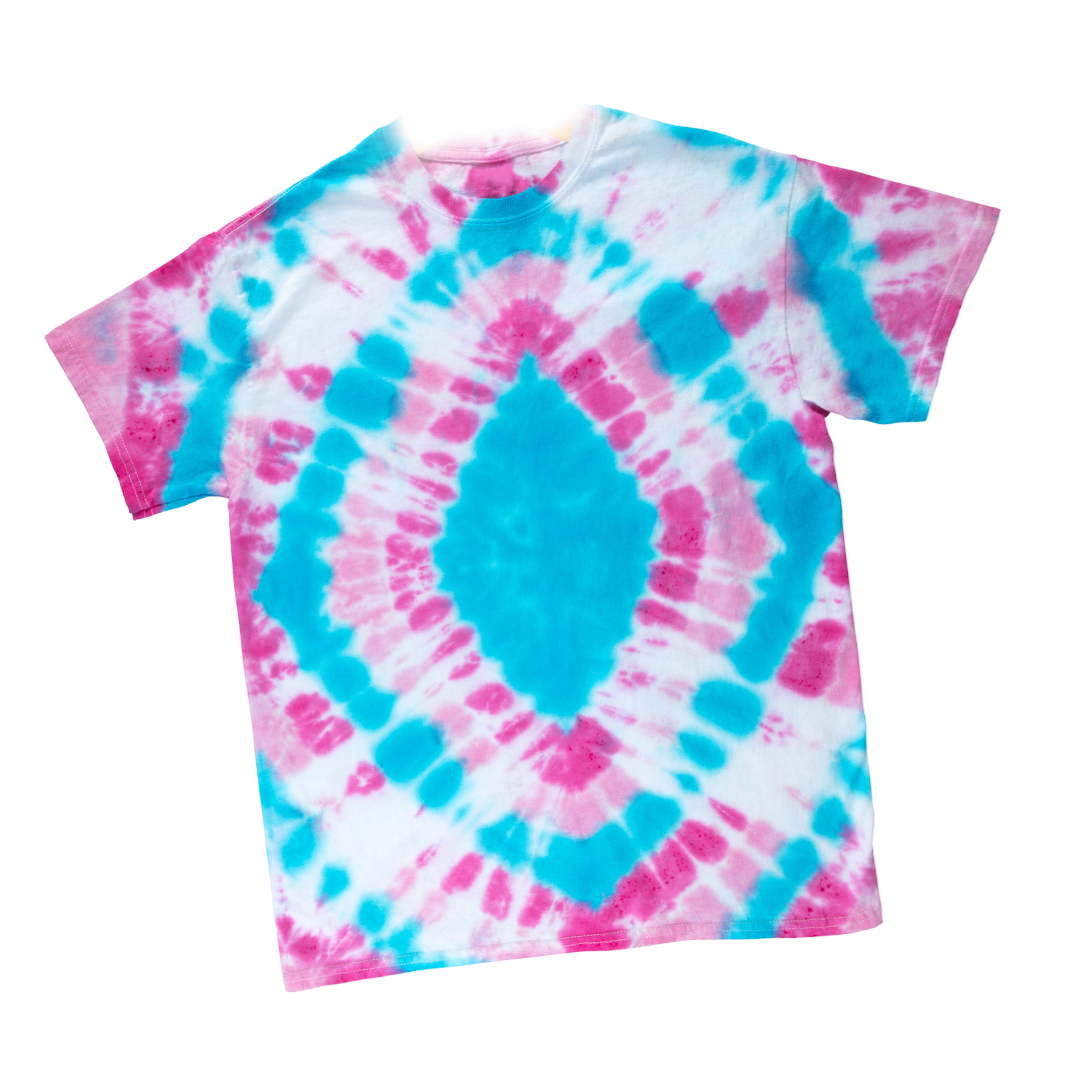
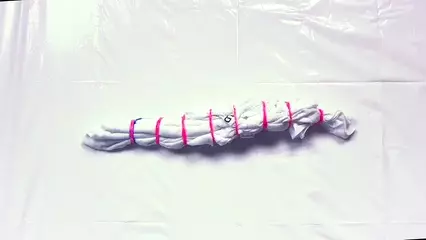
To create a full diamond tie-dye pattern, first lay your damp T-shirt out flat on your work surface and fold in half vertically. Then fold in half again horizontally. With the bottom fold closest to you, use a washable marker to draw a line from the center of the left side fold down to the center of the bottom fold. Pleat the fabric along the marker line, keeping it so that the line appears straight along the tops of the pleats. Wrap a rubber band tightly around the fabric at this line, then continue wrapping rubber bands evenly spaced apart around the rest of the shirt or fabric.
Step 4
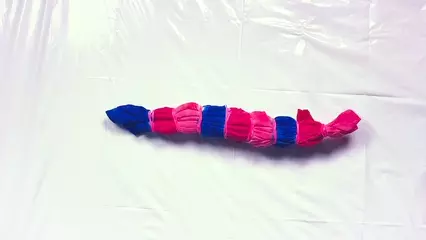
If you have a wire rack, place your damp, bound T-shirt onto a wire rack before tie dyeing. Apply your dye colors in between the rubber banded sections. You can use as many colors as you like, or just one color. Get creative and have fun! Make sure to rotate your project as you apply your dyes to match colors on the other side.
Step 5
Once you’ve finished adding your dyes to your project, place your tie-dye project into a sealable bag, or wrap it in plastic wrap. This will help keep the project damp while the dye fully processes. Leave the project sealed for 6 to 8 hours or overnight if you want, to allow the dye to completely set.
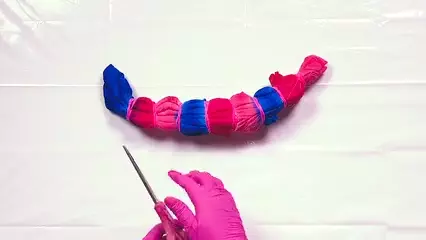
Step 6
After the dye colors have completely set, remove the rubber bands by carefully cutting away from your project. Rinse, wash and dry separately according to your kit instructions.

Step 7
To create a double diamond tie-dye pattern, first lay your damp T-shirt on your work surface and fold in half vertically. Then accordion fold it in thirds, starting from the base and accordion folding towards the top. Your T-shirt hem should end up just under the collar. With the side fold on your left-hand side, draw a line from the top left corner of the hem down to the center of the bottom fold. Pleat the fabric along the marker line, keeping it so that the line appears straight along the tops of the pleats. Wrap a rubber band tightly around the fabric at this line, then continue wrapping rubber bands evenly spaced apart around the rest of the shirt or fabric.
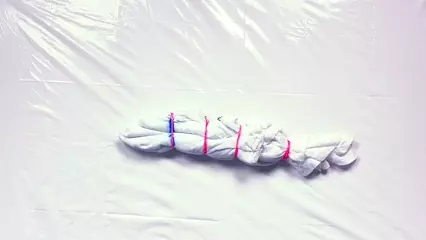
Step 8
Place your damp, bound T-shirt onto a wire rack (if using) before tie dyeing. Apply your dye colors in between the rubber banded sections. We used three dye colors for this one, alternating colors between the rubber bands to really help those double diamond tie-dye patterns pop! But you can use as many colors as you like, or just one color. Get creative and have fun! If you decide to use one color, make sure to leave a little bit of extra white space on each side of the rubber bands so the patterns stand out. And don’t forget to rotate your project as you apply your dyes to match colors on the other side!
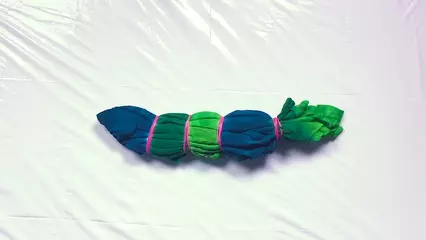
Step 9
Once you’ve finished adding your dyes to your project, place your tie-dye project into a sealable bag, or wrap it in plastic wrap. This will help keep the project damp while the dye fully processes. Leave the project sealed for 6 to 8 hours or overnight if you want, to allow the dye to completely set.
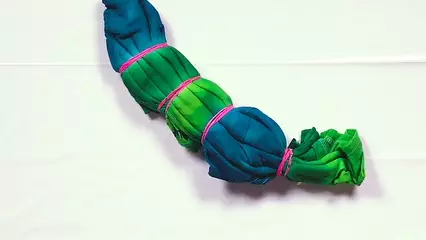
Step 10
After the dye colors have completely set, remove the rubber bands by carefully cutting away from your project. Rinse, wash and dry separately according to your kit instructions.

Step 11
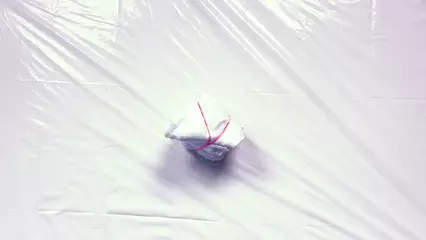
To create a diamond shibori tie-dye pattern, first lay your damp T-shirt out flat on your work surface. Starting from the bottom of the shirt, accordion fold it in even sections all the way to the top. Then starting on one side of the folded shirt, accordion fold it again towards the other end, this time folding the fabric in triangle shapes. Accordion fold it in triangles all the way to the other end and secure with several rubber bands.
Step 12
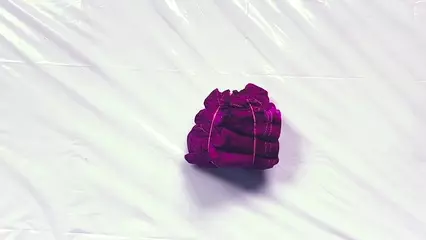
Place your bound T-shirt onto a wire rack (if using) and apply one color of tie dye over the entire shirt, rotating the shirt as you add dye so you make sure to cover all sides with dye. If you want to add more than one tie-dye color, you can! Add your colors randomly around the shirt and see what happens!
Step 13
Once you’ve finished adding your dyes to your project, place your tie-dye project into a sealable bag, or wrap it in plastic wrap. This will help keep the project damp while the dye fully processes. Leave the project sealed for 6 to 8 hours or overnight if you want, to allow the dye to completely set.
Step 14
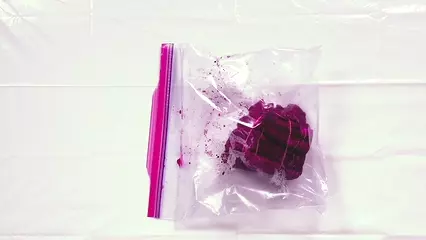
Once you’ve finished adding your dyes to your project, place your tie-dye project into a sealable bag, or wrap it in plastic wrap. This will help keep the project damp while the dye fully processes. Leave the project sealed for 6 to 8 hours or overnight if you want, to allow the dye to completely set.
Pin This Project


