You can delete and/or block cookies by modifying the settings on your browser. Learn more
Step 1:
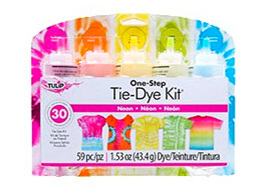
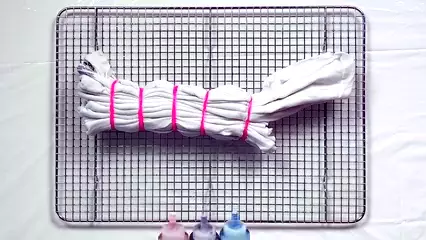
Your Tulip One-Step Tie-Dye Kit always comes with the basic tie-dye essentials you’ll need for your tie-dye project. Each kit includes a certain number of disposable plastic gloves, rubber bands, instructions, and of course – bottles of dye powder! Depending on the tie-dye technique you are using, you might need a few extra supplies. We recommend having a wire rack (like a baking rack) when you get ready to tie dye your project. This helps keep it above the pooled dye underneath so you don’t accidentally get dyes where you don’t want them on your project. You’ll also need something to tie dye, like a T-shirt (or whatever you wish to tie dye); make sure your fabric is made of a 100% natural fiber fabric like cotton, rayon or silk for best results.
Step 2:
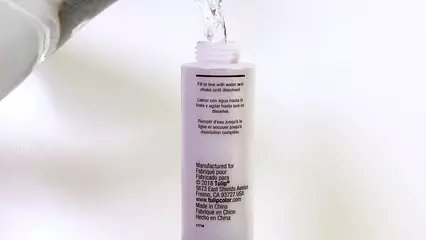
To mix your dyes, simply add tap water to the fill line on each bottle, replace the nozzles with the caps still on, and shake each bottle thoroughly until all dye powder dissolves. Wait to mix your dyes until you are ready to apply them. Dyes left unapplied for more than 72 hours might lose their concentration and therefore might not appear as vibrant after dyeing.
Step 3:
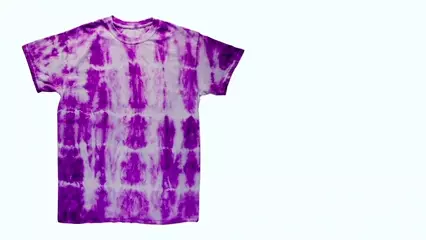
Lay your damp shirt out flat horizontally on your covered work surface. Starting on the side closest to you, accordion fold (over & under) the entire shirt in even folds, working your way to the other side.
Step 4:
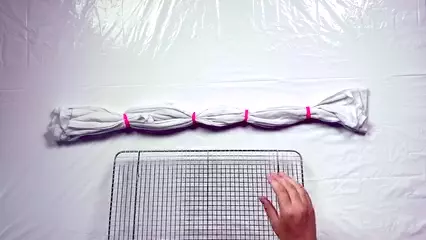
Bind your folded T-shirt by wrapping rubber bands around it, evenly spacing your rubber bands several inches apart. You can even wrap more around your shirt closer together; the more rubber bands you use, the more white space and accordion tie-dye patterns you’ll have in between your dye areas.
Step 5:
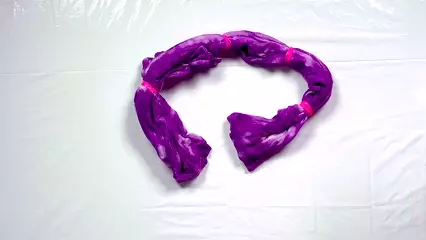
It’s not a necessity, but if you have one, place your damp, bound T-shirt onto a wire rack before dyeing to help prevent the different dye colors from pooling underneath and potentially muddying the colors. We applied one dye color to the entire project in between rubber bands, but you can apply a different color to each bound section if you want, or alternate colors between each section. Get creative and have fun! Make sure to rotate your project as you apply your dyes to match colors on the other side.
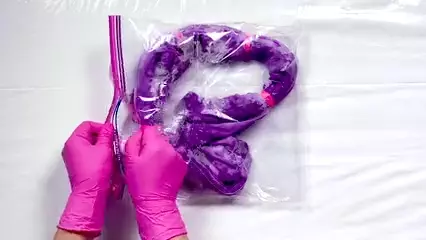
Once you’ve finished adding your dye(s) to your project, place your tie-dye project into a sealable bag, or wrap it in plastic wrap. This will help keep the project damp while the dye fully processes. Leave the project sealed for 6 to 8 hours or overnight for the dye to completely set.
Step 6:
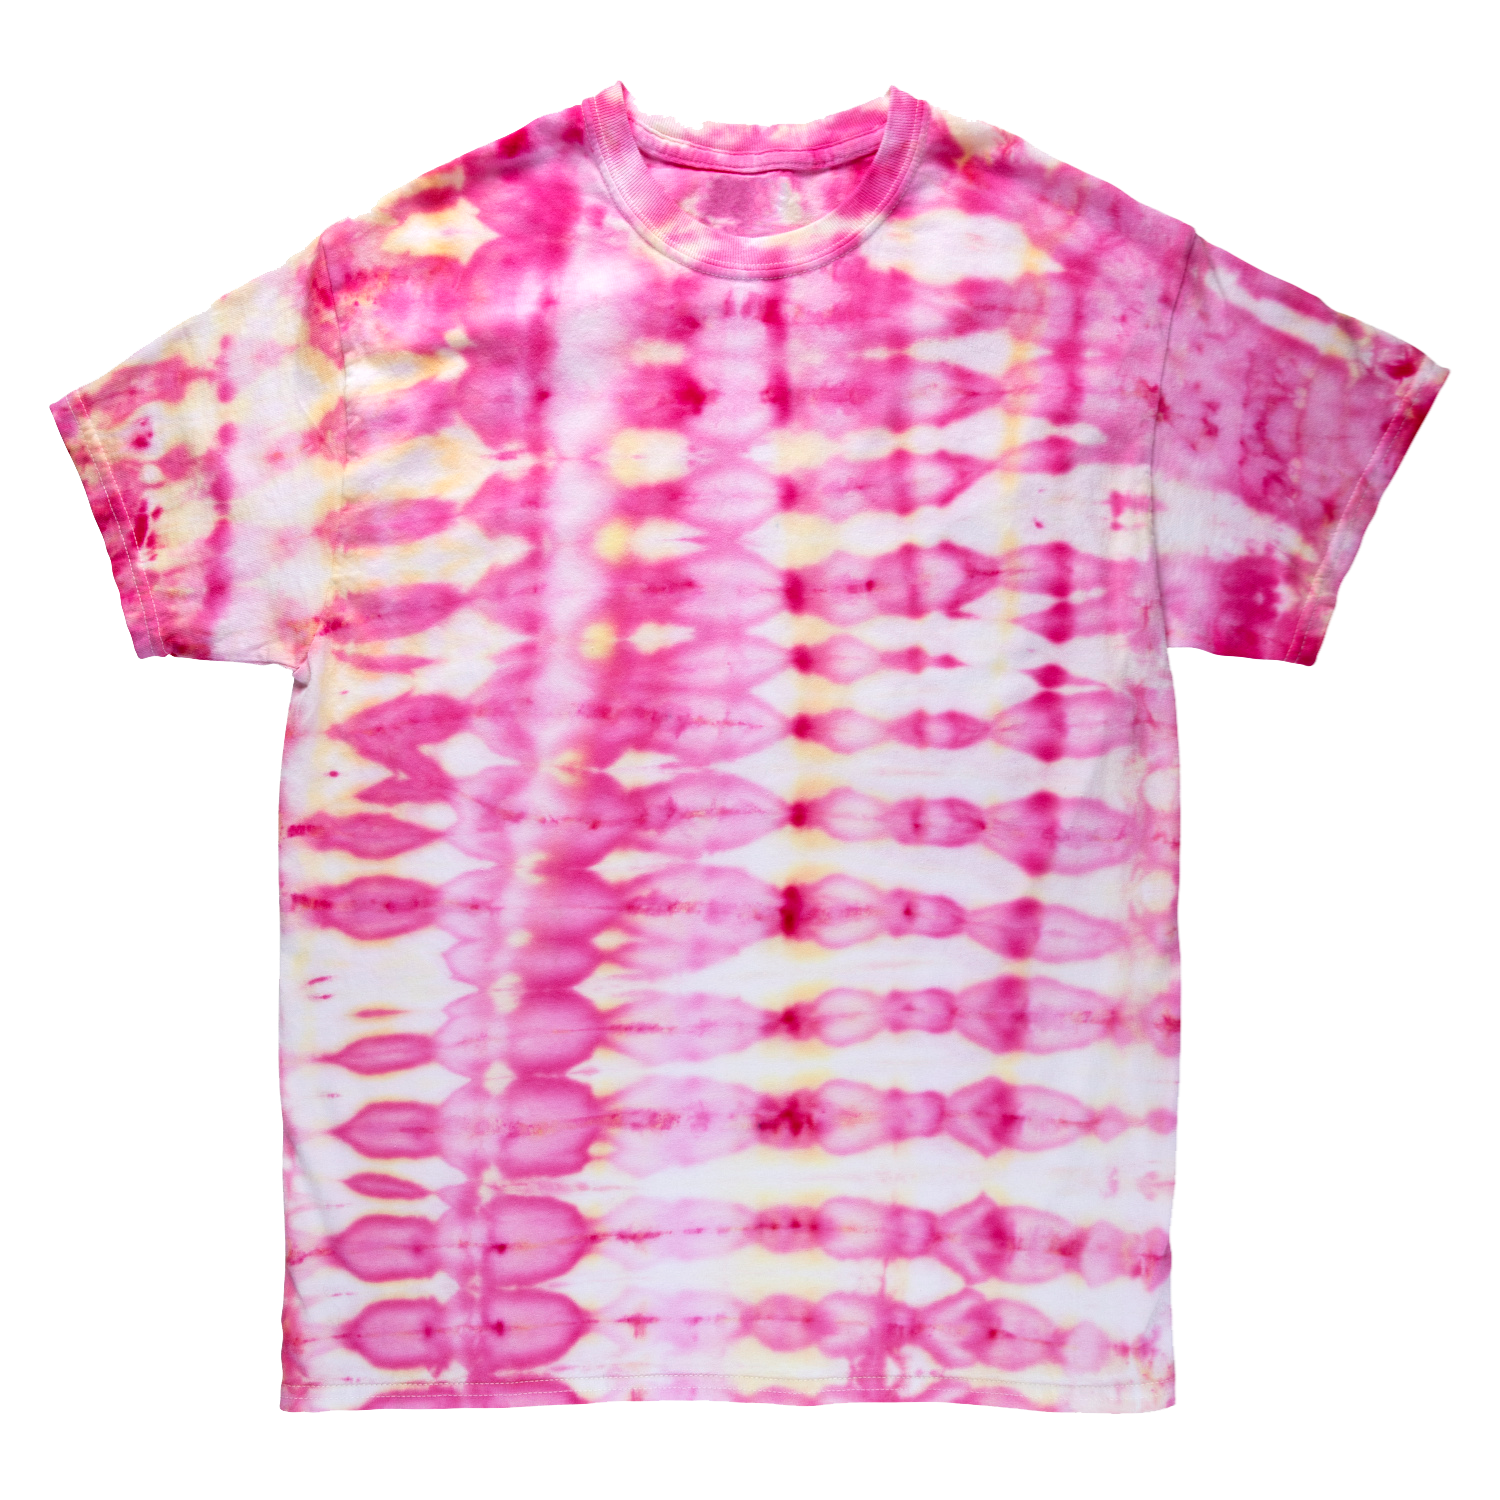
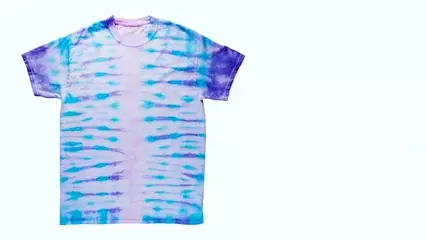
After the dye colors have completely set, remove the rubber bands by carefully cutting away from your project. Rinse, wash and dry separately according to your kit instructions.
Step 7:
Fold your damp T-shirt in half vertically, then accordion pleat from the base of the shirt all the way to the top of the shirt, making sure to pleat the sleeves as well.
Step 8:
Bind your pleated shirt with rubber bands, wrapping them tightly around the shirt every 1 to 1.5 inches apart.
Step 9:
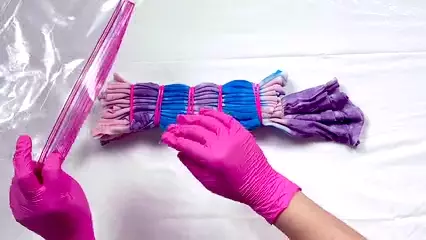
Place your bound T-shirt on a wire rack (if you have one), then apply your dye colors as desired to each banded section. Whatever color pattern you choose, make sure to rotate your project and match the colors on the back side.
Once you’ve finished adding your dye(s) to your project, place your tie-dye project into a sealable bag, or wrap it in plastic wrap. This will help keep the project damp while the dye fully processes. Leave the project sealed for 6 to 8 hours or overnight for the dye to completely set.
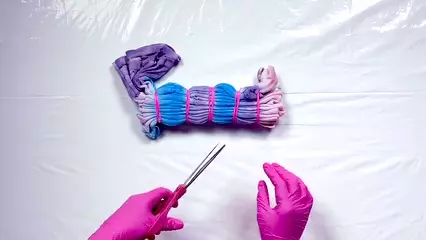
Step 10:
After the dye colors have completely set, remove the rubber bands by carefully cutting away from your project. Rinse, wash and dry separately according to your kit instructions.
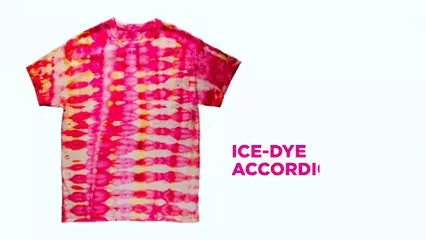
Step 11:
Lay your damp T-shirt out flat with the base of the shirt closest to you. Create small, tight accordion pleats starting at the base edge and working your way all the way up to the top of the shirt. Make sure to pleat the sleeves as well. Once you have the shirt tightly pleated, form it into an S-curve pattern, creating around 4 to 5 curves depending on the size of your shirt.

Step 12:
Bind your S-curved/pleated shirt with rubber bands. Use 2 rubber bands vertically around the center to hold in place, then crisscross 2 more rubber bands with the ends at each corner so the entire shirt is held secure.
When using the ice tie-dye technique, we recommend placing your project on a wire rack over a bucket or bin to collect all of the dye and ice as it melts. Open your unmixed dye bottles and
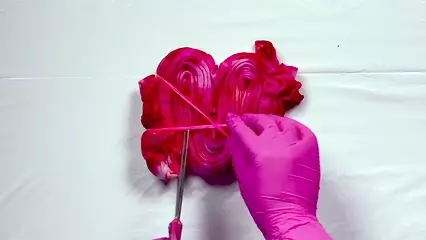
Step 13:
After the ice has completely melted, remove the rubber bands by carefully cutting away from your project. Rinse, wash and dry separately according to your kit instructions.
Pin This Project

